
Using the Form Viewer
Why Use the Form Viewer
The Form Viewer is useful in several scenarios:
- When you want to manually edit a form instead of relying on Autofill or Smart Interviews.
- When a contact doesn’t yet have enough data to justify using Autofill.
- When a client won’t complete a Smart Interview or you prefer not to send one.
- When you simply need to review the form, verify field data, adjust font sizes, or apply the N/A toggle.
- When you want to confirm that all fields look correct before downloading or sharing the form.
Even if you don’t plan to manually edit anything, you will still use the Form Viewer to inspect, validate, and finalize forms.
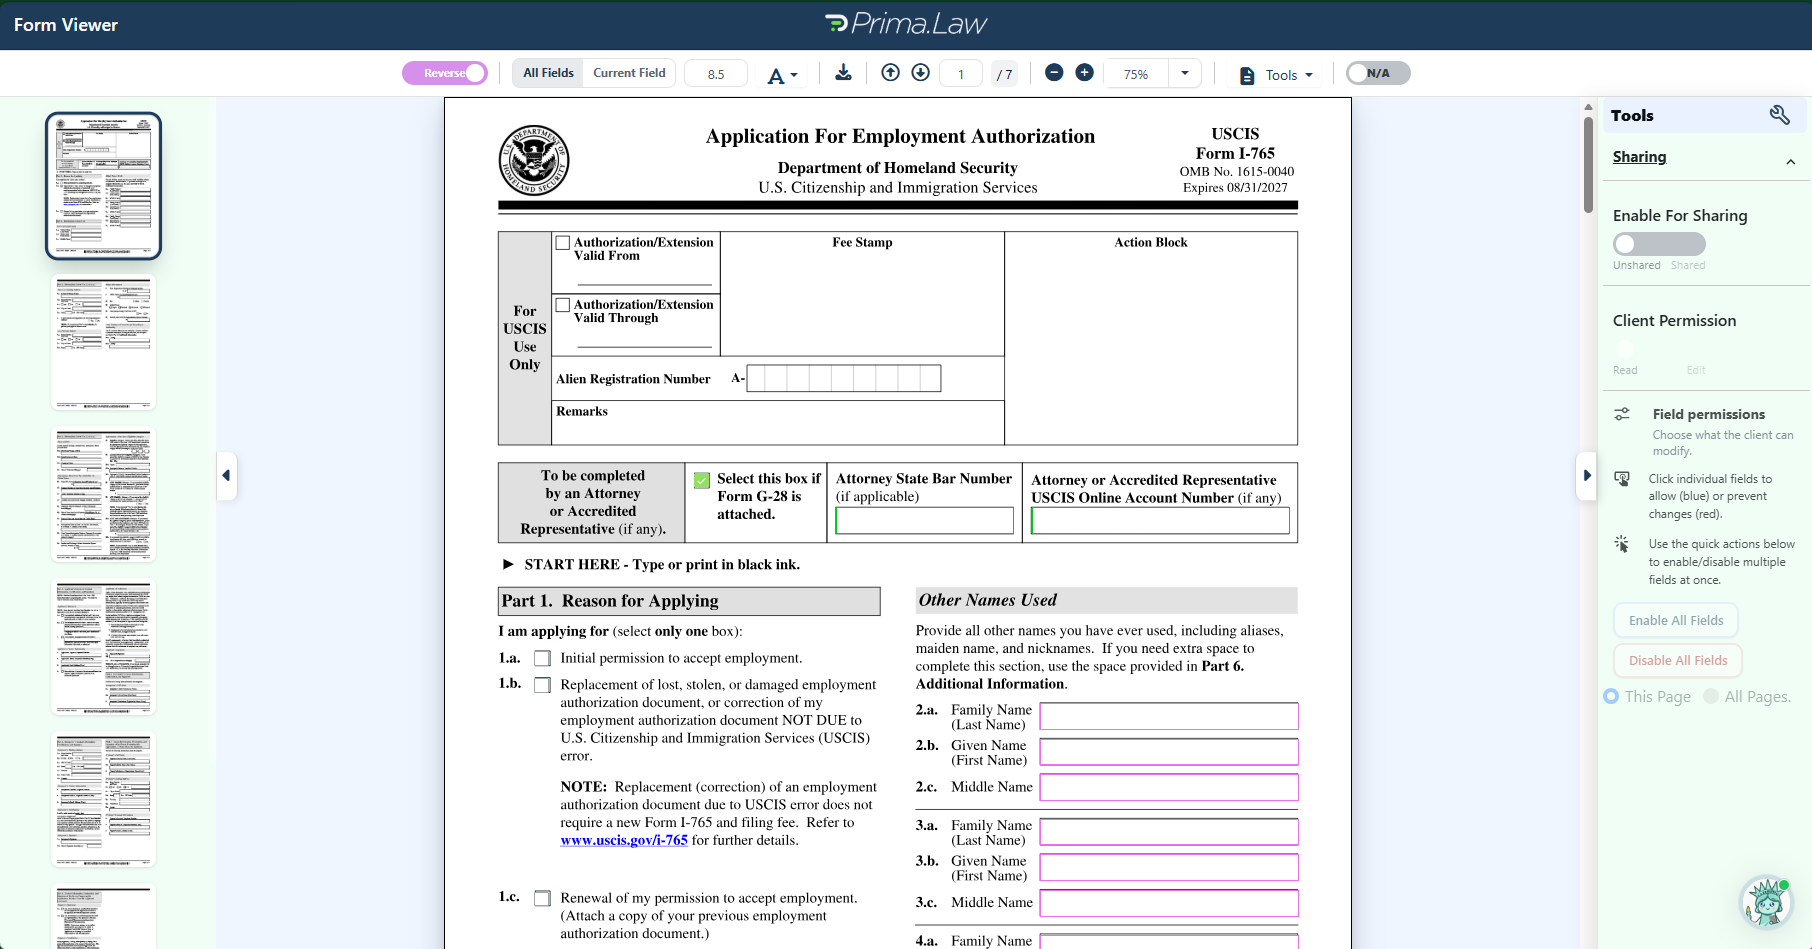
How to Access and Use the Form Viewer
Below is the complete step‑by‑step workflow.
1. Create or select a contact
Every form requires a contact; start by creating a new contact or opening an existing one.
2. Create a case for the contact
Open the contact and create a new case/application; choose a premade case type or start with a blank case.
3. Add or review the forms in the case
If you selected a premade case type, forms will already be listed; otherwise, add the forms you need.
4. Assign the contact to each form role
Click the form name to open the role assignment dropdowns and assign the correct contact to each role.
5. Open the Form Viewer
Click the pencil icon to open the Form Viewer and begin reviewing or editing.
6. Edit fields and manage Reverse Autofill
Use the Reverse Autofill toggle to save field edits back to the contact—only when fields are highlighted in magenta.
7. Use viewer tools and finalize the form
Adjust font size, zoom, apply N/A, navigate pages, or download the PDF once everything looks correct.
Detailed Breakdown of the Form Viewer Interface
Below is a deeper explanation of what the user sees once inside the Form Viewer.
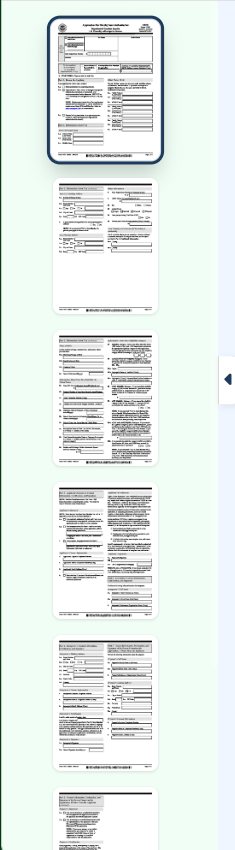
Left Panel: Page Thumbnails
- Displays a preview of all pages in the form.
- Allows quick navigation to any page.
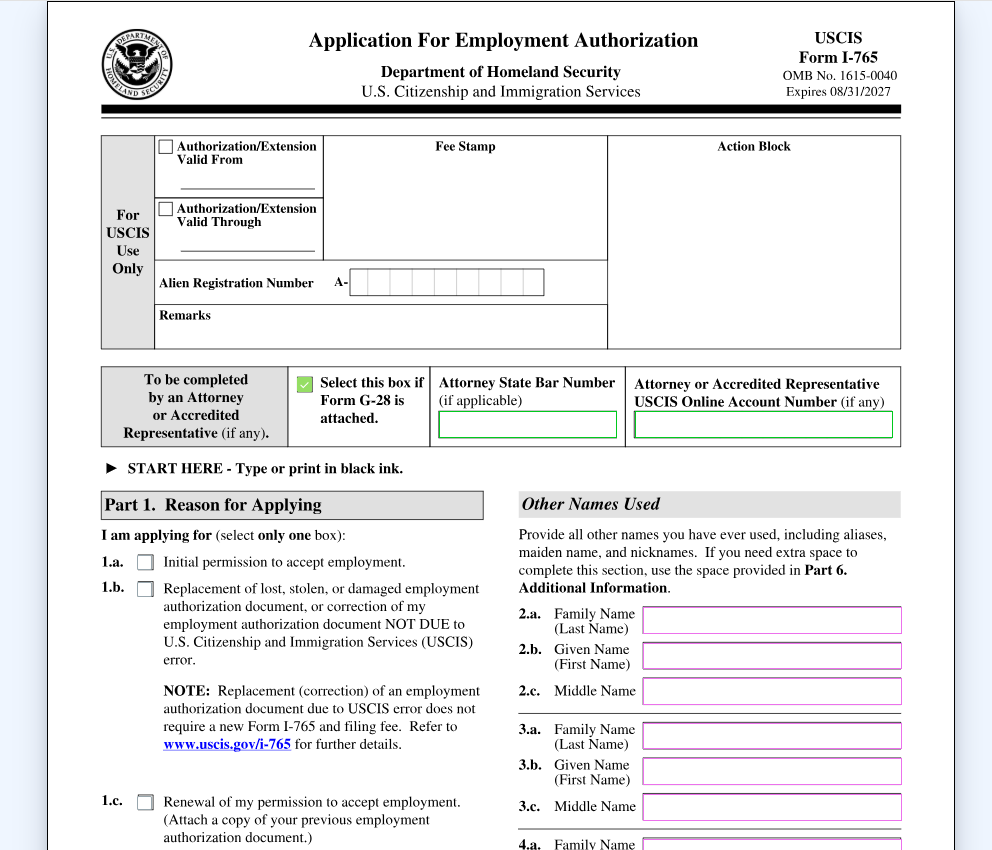
Center Panel: The Form Itself
- Shows the actual USCIS form with all fields and data.
- Any field highlighted in magenta is linked to Reverse Autofill.
- You can click into any field to manually edit it.
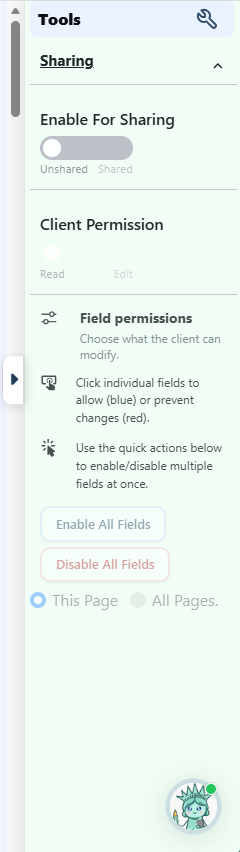
Right Panel: Client Portal Options
- These Ccntrols can only be used if the Client Portal is enabled for the contact.
- Allows you to share the form for client viewing or editing.
- If you don’t use the Client Portal, you can collapse or hide this panel.
Top Toolbar Controls

Reverse Autofill Toggle (Magenta)
- When ON, any edits you make to magenta‑highlighted fields will update the linked contact.
- If a form has multiple roles (e.g., Petitioner + Beneficiary), each role has its own linked fields.
- Important warning:
- Never leave name fields blank.
- If you delete a name in a magenta field, the system will save the contact with a blank name, making it nearly impossible to find later.
Font Size Controls
- Lets you change the font size for:
- All fields, or
- Only the currently selected field
- Useful when long answers need to fit neatly.
Download Button
- Downloads the form as a PDF.
- Use this when you need to print, share, or archive the form outside Prima.Law.
Page Navigation
- Move to the next or previous page.
- Shows the current page number.
Zoom Controls
- Zoom in or out for comfortable viewing.
Tools Menu
Includes two view options:
- Fit to width – zooms in so the form fills the width of the screen.
- One page per view – shows the entire page at once.
N/A Toggle
- Automatically fills all blank fields with “N/A”.
- Useful for forms requiring no empty fields.
Best Practices & Warnings
✔ Always assign roles before editing
If a form has multiple roles, ensure the correct contact is assigned before editing.
✔ Be careful with Reverse Autofill
Only leave it ON when you intend to update the contact’s profile.
✔ Never leave name fields blank
Blank names = unsearchable contacts.
✔ Use the Form Viewer even if you don’t edit
It’s still the best way to:
- Validate data
- Apply N/A
- Check formatting
- Confirm everything looks correct before submission